Converting models with BBMOD CLI
When using BBMOD, you first need to convert your 3D models into the BBMOD file format before you can load and render them in GameMaker. This can be done either using BBMOD CLI or BBMOD GUI. If you are our Patron and you have access to BBMOD GUI, we recommend using that over the CLI and having a look at tutorial Converting models with BBMOD GUI. If not, you can always use BBMOD CLI, which is free and comes with every release of BBMOD.
BBMOD CLI is a command-line interface, which means it needs to be run from the Command Prompt or Windows PowerShell. If you do not have any experience with using command line, please have a look at part 3 of Installing BBMOD first, where you will learn how to run the CLI easily from any directory.
Lets begin with opening up the File Explorer and navigating to the directory
where you have a model that you would like to convert, in our case Character.fbx.
Then right click anywhere into the window and select "Open in Windows Terminal"
from the menu:

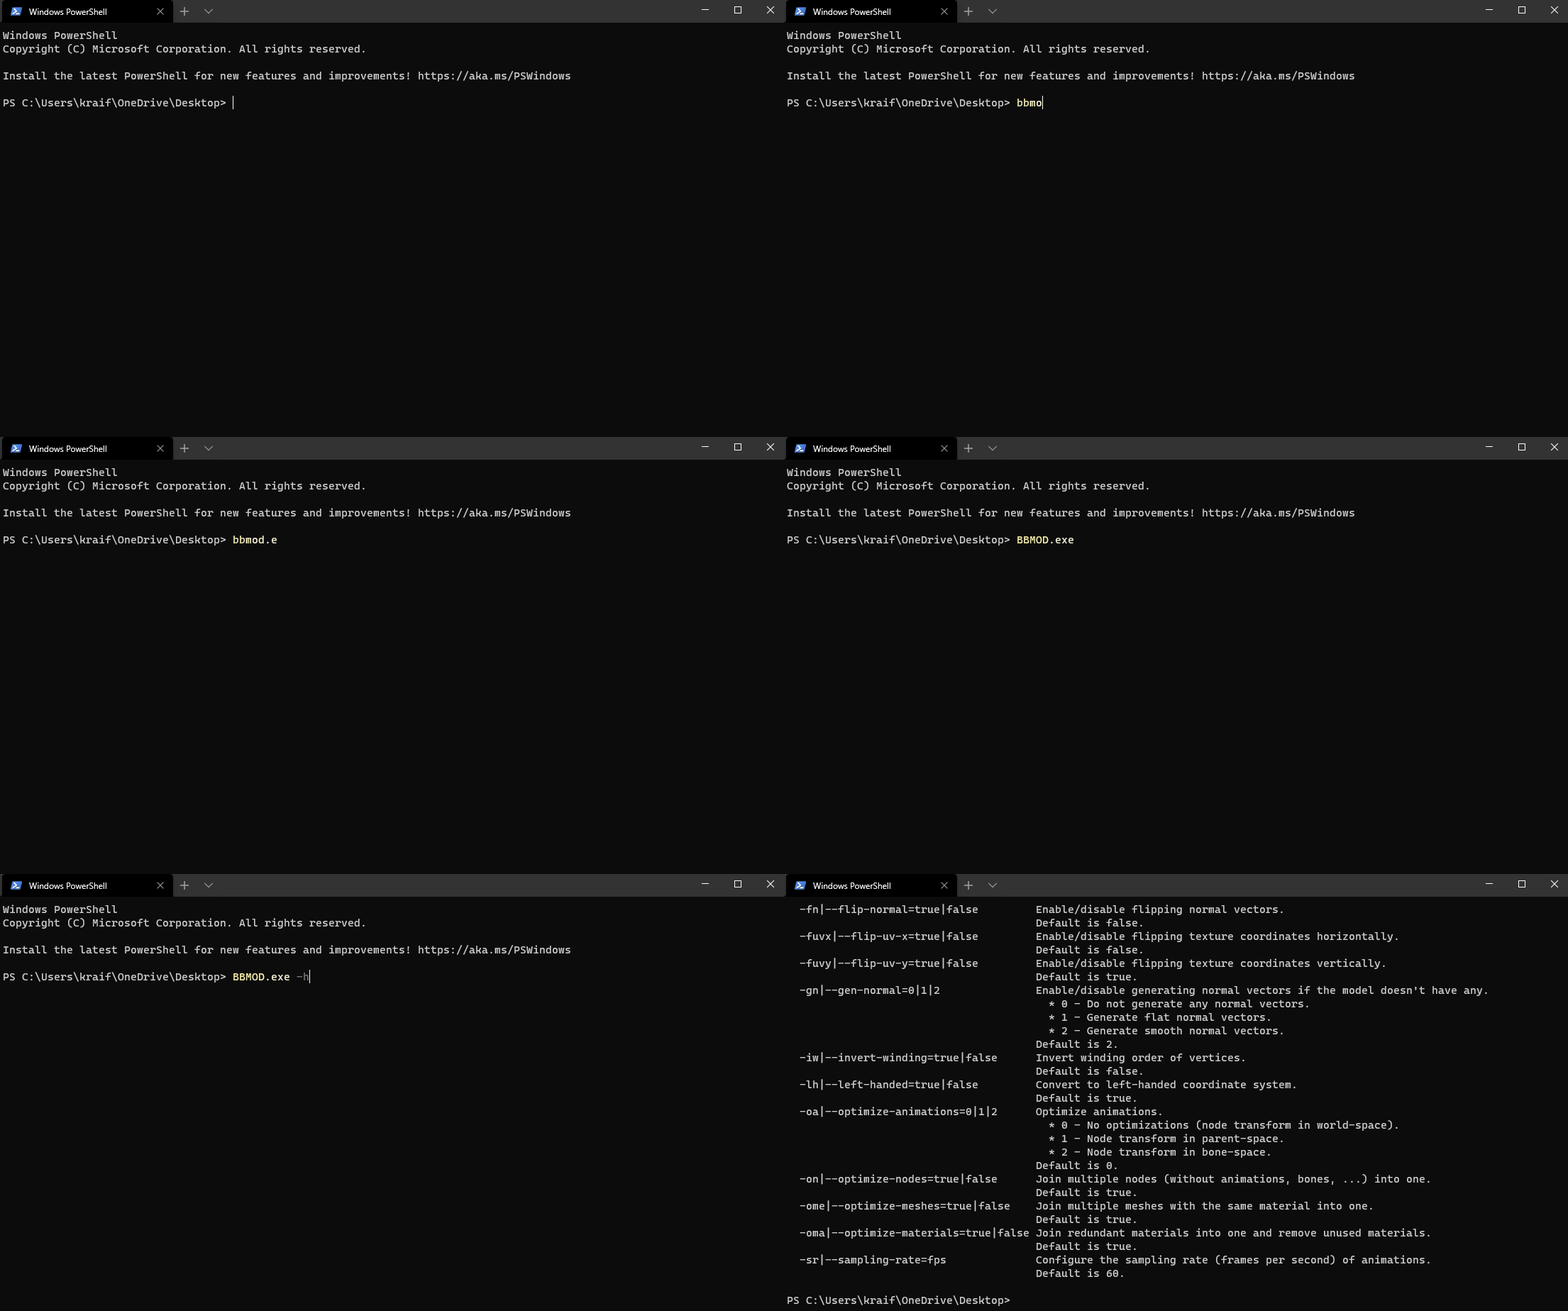
When the Terminal opens, type BBMOD.exe -h into it and press Enter to
execute the command. The -h parameter tells BBMOD CLI to only print out the
help message and exit. Please read through the help message carefully to learn
about all available parameters and what they do. These can change based on what
version of BBMOD you are using.

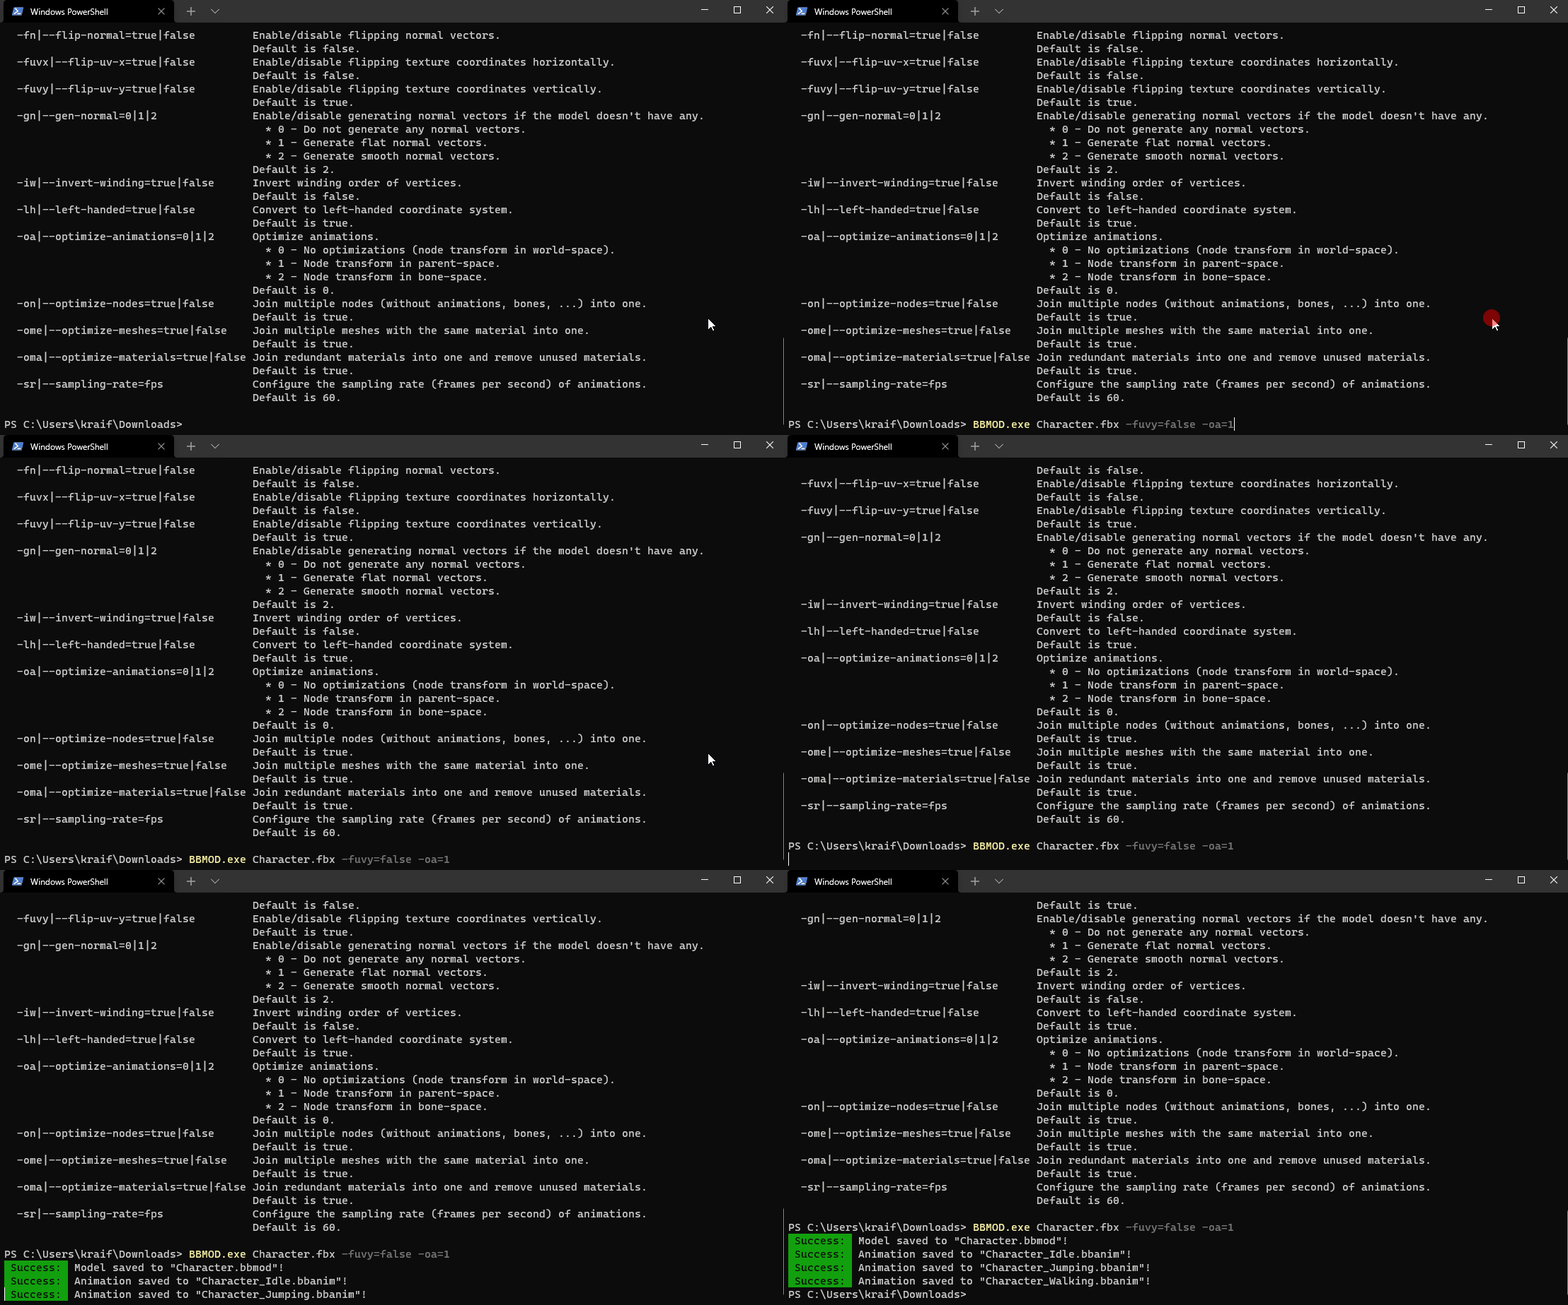
Now copy the following command (replace Character.fbx with your model), paste
it into the Terminal using right click and execute it with Enter.
BBMOD.exe Character.fbx -fuvy=false -oa=1This starts converting our Character.fbx without flipping the UV coordinates
vertically (which is the -fuvy=false parameter) and with
animation optimization level
set to 1 (which is the -oa=1 parameter). BBMOD CLI should print out a success
line for the model and each of its animations, telling you where the files have
been saved to.

In our case they should be in the same directory as our Character.fbx:

Files ending with .bbmod are models, .bbanim are animations and the _log.txt
file contains useful information about the model, like its vertex format and names
of its bones and materials. These files are now ready for loading and rendering
in GameMaker and you can move them into the Included Files of your
project!