Animating characters with Mixamo | Part 1 | Exporting from Blender
In this tutorial we will be using a free,
CC0 licensed
Animated Characters 1
pack by Kenney.nl, but the process that you
are about to learn works on any character model, so you can use your own instead
if you have some ready. We found Mixamo to be working the best when we upload an
OBJ file to it, but the character by Kenney is an FBX, so we will first
import it into Blender and re-export it again as an OBJ. Feel free to skip
individual parts if they are not required for your custom models.
Contents
Importing FBX into Blender
Lets begin with opening up Blender and deleting everything included in the
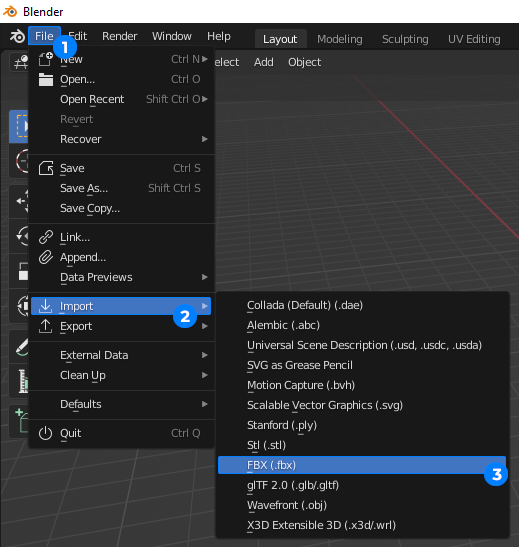
default scene by pressing A and then Delete keys. Then select File >
Import > FBX from the top menu bar.

In the dialog that opens simply navigate to animated-characters-1/Model,
select file characterMedium.fbx (1) and click the "Import FBX" button (2). We
do not need to change any settings in this window.

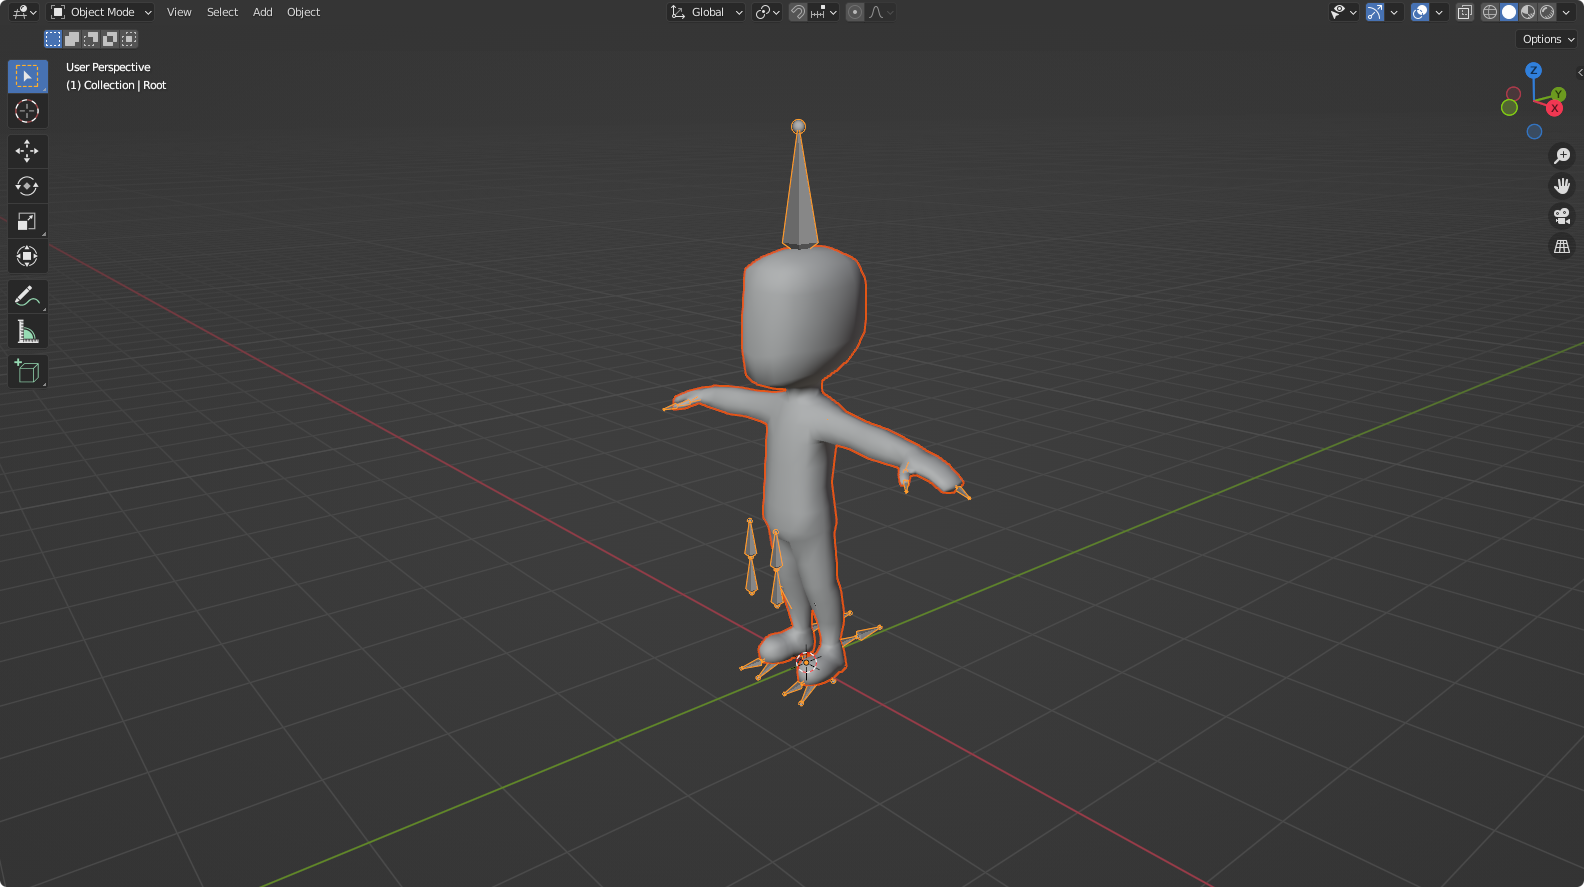
The file should import just fine without any issues.

Exporting OBJ from Blender
When we have our character model loaded in Blender, we can now export it as an
OBJ file. Select File > Export > Wavefront from the top menu bar.

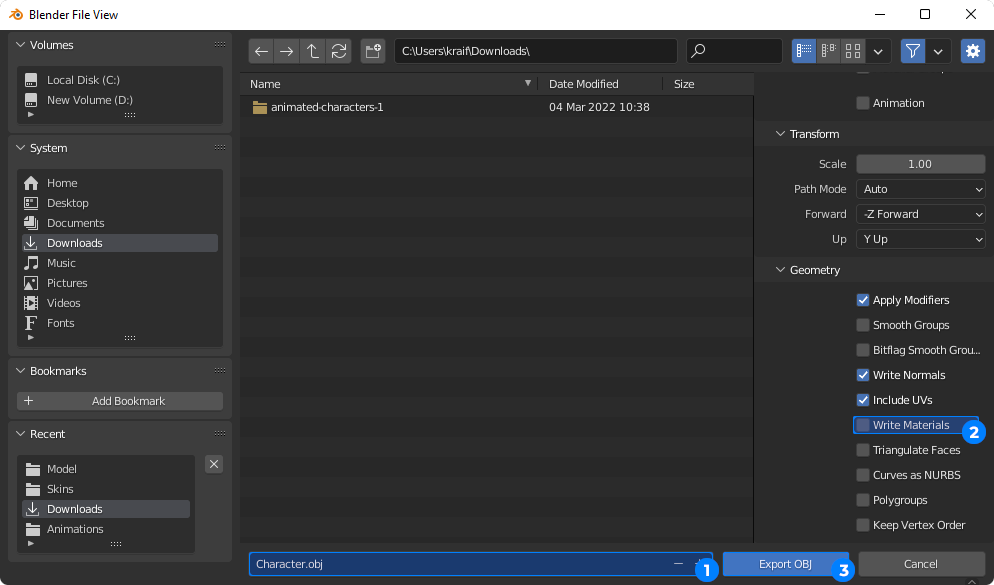
In the dialog that opens simply navigate to the directory where you would like to save the file to and change the file name to whatever you like (1), we are using simply "Character.obj". On the right side of the window expand the "Geometry" section and uncheck the "Write Materials" checkbox (2), since we do not need these. Finish by clicking the "Export OBJ" button (3).

At this point our character is ready for uploading to Mixamo.